DIY: Stove shelf

I saw this tutorial on Pinterest(http://pin.it/iEzFTOr) where they used actual wood. But I didn't want to spend the money on the wood when I had cardboard boxes I've been hoarding just for this kind of project to come along.
Not only does this shelf create storage for those small things you want to keep of your counter, you can use it with any kind of color or printed contact paper to match your kitchen asthetic. Luckily the wood print I already had worked perfectly with my kitchen.
Supplies:
- Cardboard
- High-temp glue gun and glue sticks
- contact paper
- screws (4)
- pen or pencil
- ruler
- knife, utility knife or craft blade
Step 1:

Start by measuring across the length of your stove where you want the shelf to sit over, plus 1.5" to account for the width of the side pieces, mine was 31.5". (Which I didn't do originally so i had to make my sides pieces longer.) Then measure from your counter to the top of your stove. My measurement was 10.5"
Step 2:
You'll want your actual shelf piece to be wide enough to extend out just before it starts to overhang the actual stove. So I measured from the wall out to the front of the back splash of my stove. It ended up being a perfect 3.5". And for the side piece, if your counter doesn't have a black splash you can make them the same width as the top. But mine had a inch deep back splash, so you will want to subtract that from that measurement giving me 2.5".
So with all our measurements taken you will have one top piece at 31.5" x 3.5" and two side pieces at 10.5" x 2.5" and each piece should be a 1/2" thick.

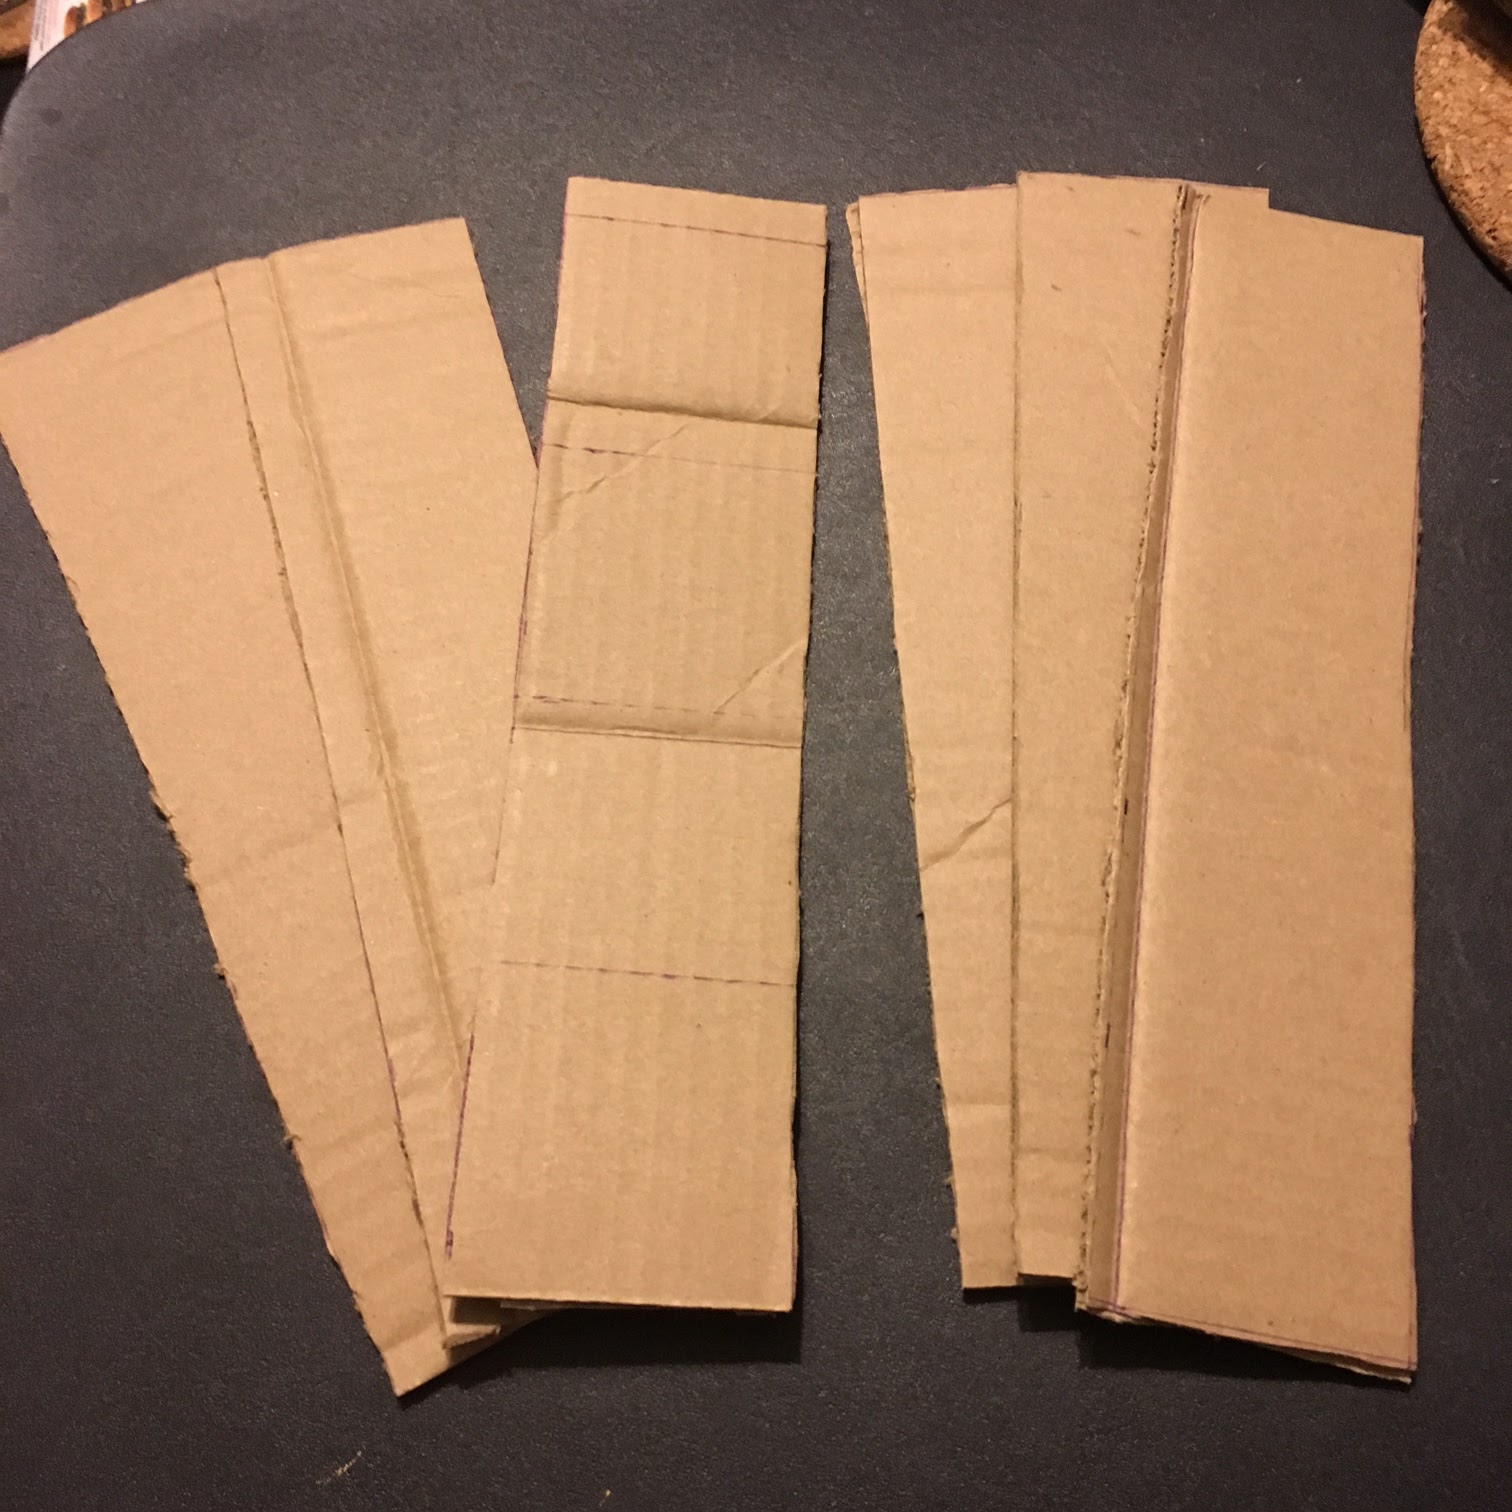
Step 3:
Start cutting your cardboard. I used 6 pieces of it to make it to 1/2" thick pieces.

Step 4:
For the top piece I had to glue sections together to create the length. Also when doing this I made sure to glue pieces of top of the seam points to make it stronger.


Now just put your finished project in place and personalize it. My husband had this Poppa Smurf shot glass and uses it for his toothpicks. The vintage ceramic and cast iron trivet was a gift from a family friend. I hope to find a cute set of salt and pepper shakers in the future. And I made a sad attempt at some painted bottles and the paint didn't quite dry evenly I will probably repaint them later.

Supplies:
- Cardboard
- High-temp glue gun and glue sticks
- contact paper
- screws (4)
- pen or pencil
- ruler
- knife, utility knife or craft blade
Step 1:

Start by measuring across the length of your stove where you want the shelf to sit over, plus 1.5" to account for the width of the side pieces, mine was 31.5". (Which I didn't do originally so i had to make my sides pieces longer.) Then measure from your counter to the top of your stove. My measurement was 10.5"
Step 2:
You'll want your actual shelf piece to be wide enough to extend out just before it starts to overhang the actual stove. So I measured from the wall out to the front of the back splash of my stove. It ended up being a perfect 3.5". And for the side piece, if your counter doesn't have a black splash you can make them the same width as the top. But mine had a inch deep back splash, so you will want to subtract that from that measurement giving me 2.5".
So with all our measurements taken you will have one top piece at 31.5" x 3.5" and two side pieces at 10.5" x 2.5" and each piece should be a 1/2" thick.

Step 3:
Start cutting your cardboard. I used 6 pieces of it to make it to 1/2" thick pieces.


Step 4:
For the top piece I had to glue sections together to create the length. Also when doing this I made sure to glue pieces of top of the seam points to make it stronger.

Step 5:
After all pieces where glued I wrapped everything in the wood grain contact paper.

Step 6:
Now to assemble the side pieces to the top. Making sure the side pieces are flush with the top piece towards the front. Leaving the one inch gap to sit in front of the counter back splash. I also inserted two screws from the outside of the side pieces into the top shelf portion for added support and strength to keep everything together.


And because the shelf is made of cardboard it is quite light. So to make sure the shelf doesn't topple forward I attached a piece of cardboard to the middle of the top piece extending down the back of the stove. This will act as a hook so it won't fall forward.
* * * * * * * * * * * * * * * * * * * * * * * * * * * * * * * * * * * * * * * * * * *
Now just put your finished project in place and personalize it. My husband had this Poppa Smurf shot glass and uses it for his toothpicks. The vintage ceramic and cast iron trivet was a gift from a family friend. I hope to find a cute set of salt and pepper shakers in the future. And I made a sad attempt at some painted bottles and the paint didn't quite dry evenly I will probably repaint them later.

Comments